If your leather belt is too long, there’s no need to buy a new one or return it. With a few tools and some simple steps, you can shorten it yourself at home. This guide will walk you through the process, making sure your belt fits perfectly while still looking professional.
What You’ll Need:
Hole puncher or drill
Ruler or tape measure
Paper knife (or utility knife)
Screwdriver
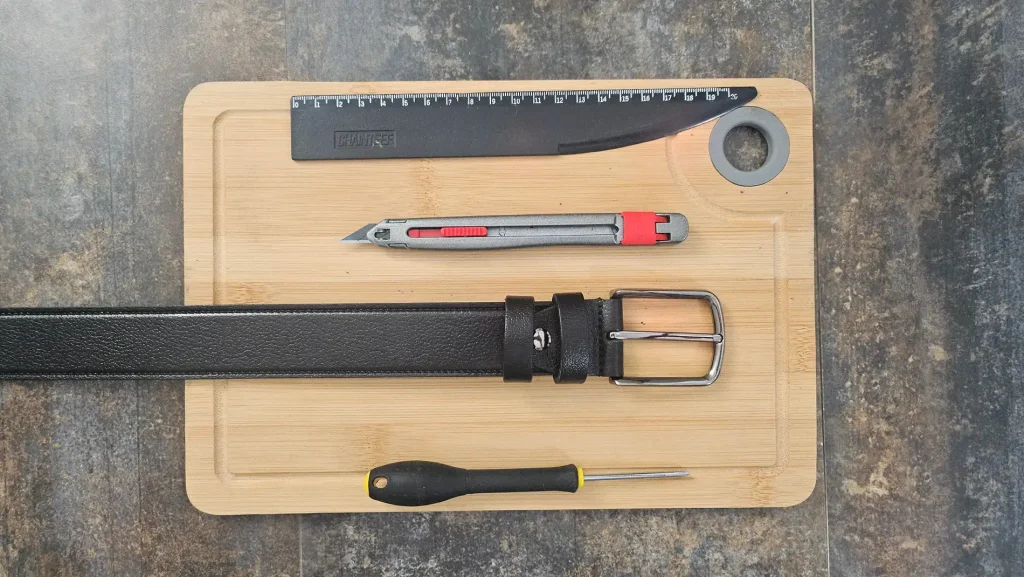
Step-by-Step Instructions
1. Try On the Belt and Measure the Excess
Put the belt on and find your ideal fit. Measure how much leather goes beyond the buckle when it’s worn properly. That’s the amount you’ll remove.
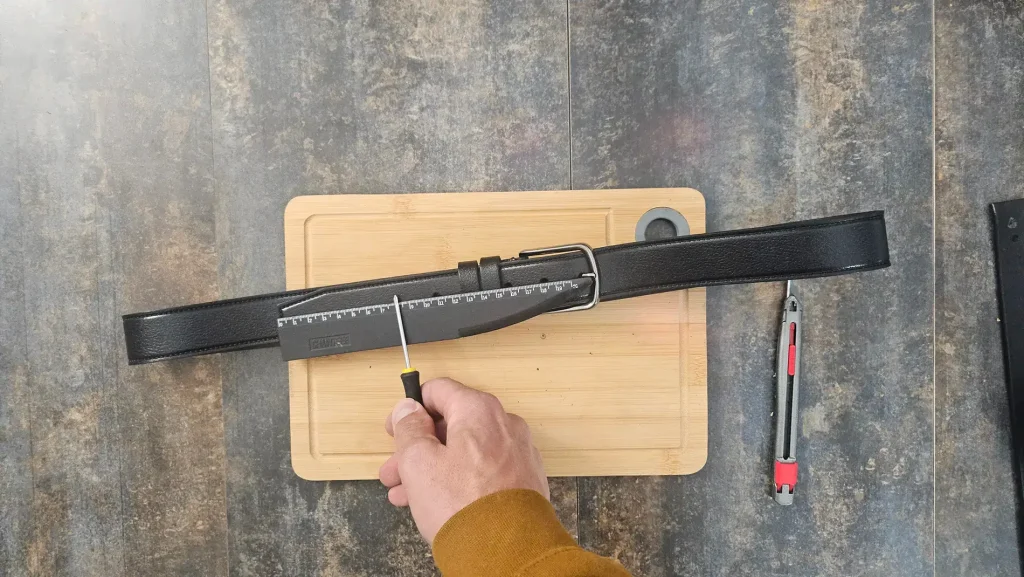
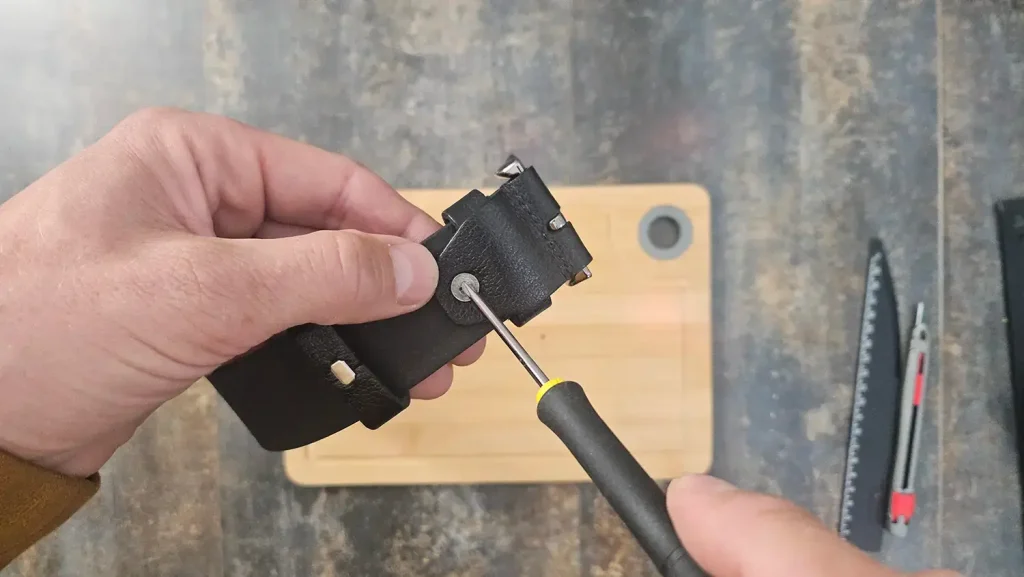
2. Unscrew the Buckle and Remove Loops
Use a screwdriver to remove the screw that attaches the buckle. Take off the buckle and any belt loops.
3. Mark the Excess Leather to Remove
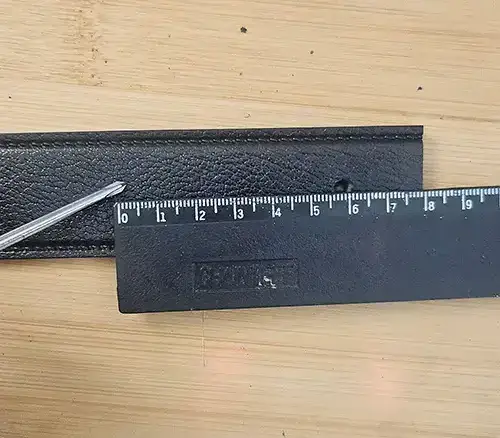
Use a ruler and a marker or screwdriver to carefully measure and mark the excess leather at the buckle end (not the tip). Double-check your measurements before moving to the next step.
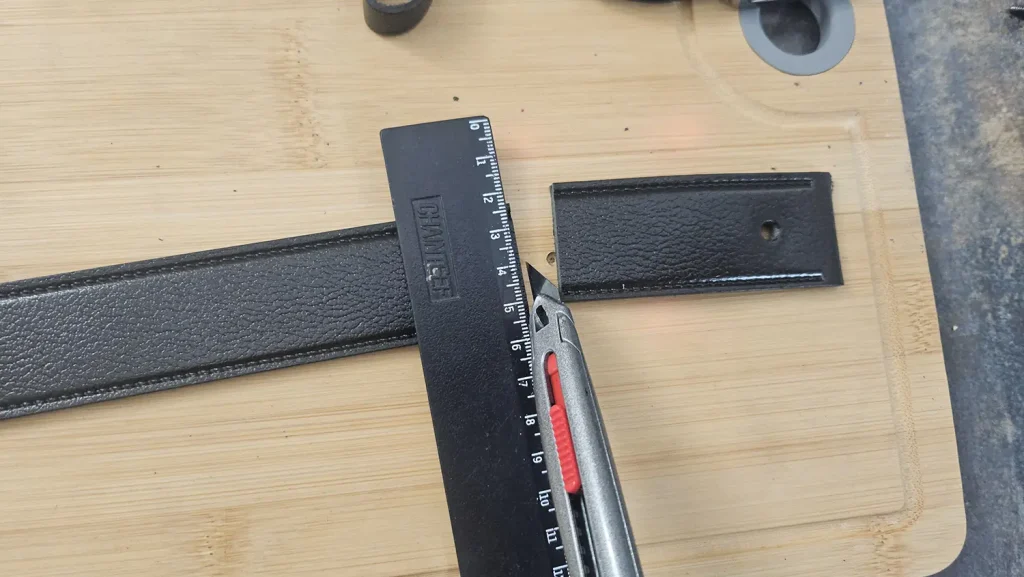
4. Cut the Excess Leather
Use a sharp paper knife to make a clean, straight cut where you marked. A cutting mat or thick cardboard underneath will help protect your work surface.
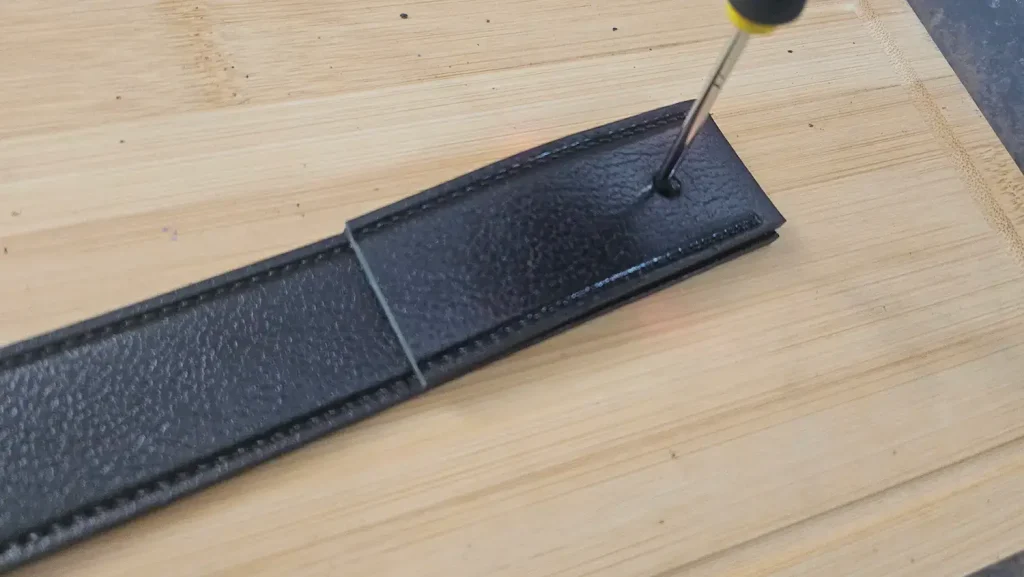
5. Mark a New Hole for the Buckle Screw
Place the cut-off leather piece over the newly trimmed belt end to line up the screw hole position. Mark exactly where the new hole needs to go.
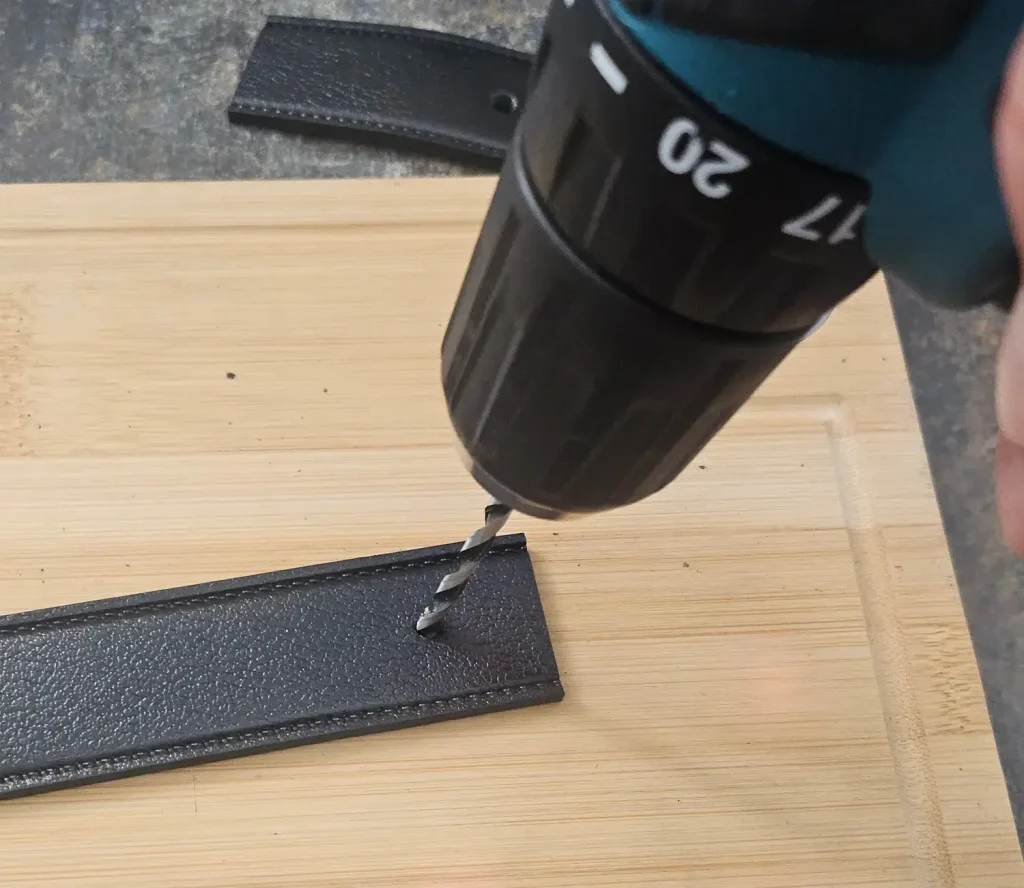
6. Punch or Drill a New Hole
Use a leather hole punch or a drill to make the new hole for the buckle screw. Be precise, so the buckle aligns correctly.
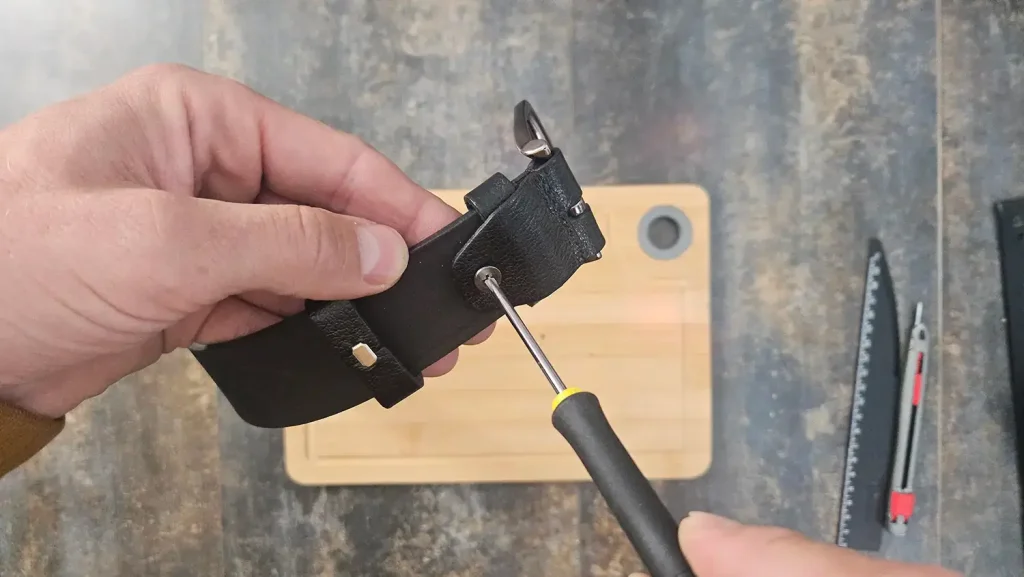
7. Reassemble the Belt
Put the buckle and belt loops back on and secure them with the screw. Try the belt on again to confirm the fit.
Final Tips
- Always cut from the buckle end, not the pointed tip, to keep the original look.
- If using a drill, place the belt on a firm surface and drill slowly to avoid tearing the leather.
Now you’ve got a leather belt that fits exactly the way it should—customized by you, right at home. This quick DIY saves money and keeps your belt looking sharp.
We appreciate you reading our guide.

