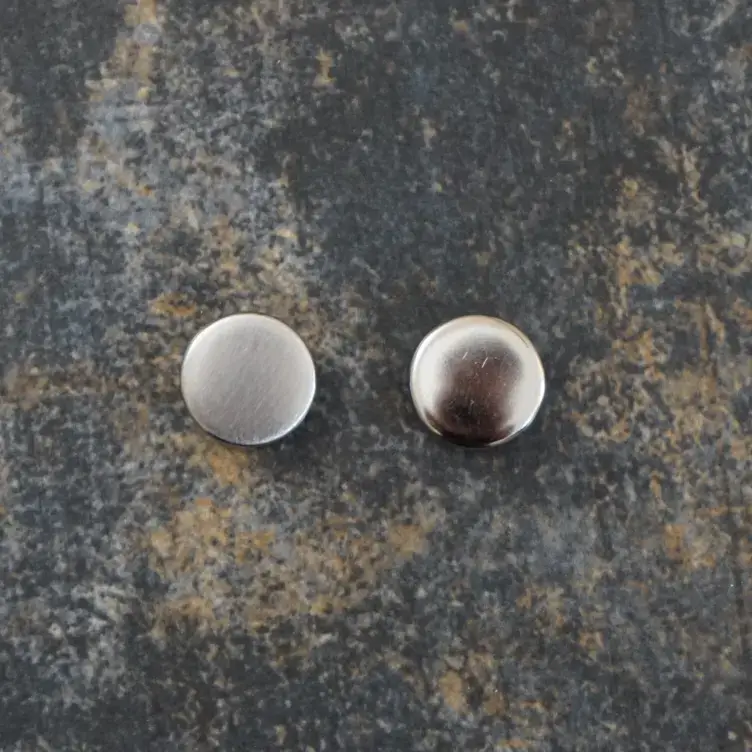
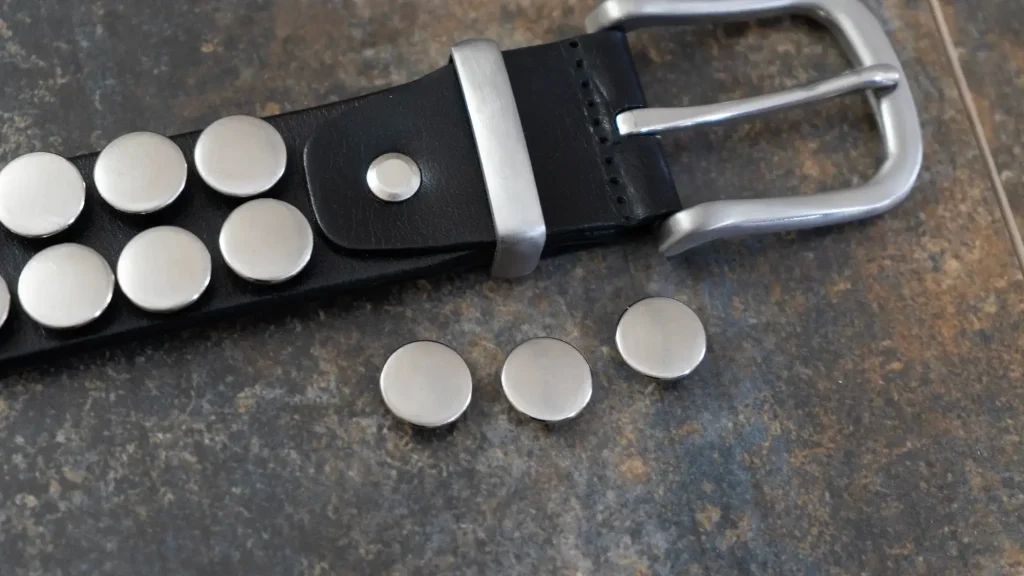
If you’ve ever worked on a studded leather belt project, you’ve likely run into this problem: all the stud rivets on the market are shiny, highly polished, and don’t always match the rest of your belt hardware. That’s exactly the issue I faced while working on a custom belt for a client. The buckle and metal loop had a rugged, brushed metal look, but the dome studs were glaringly reflective.
To keep the design cohesive, I needed to tone down the shine—but I didn’t want to hunt down expensive specialty rivets. Instead, I found a simple DIY solution that works fast and gives great results: brushing the studs myself using a sanding clutch.
Why I Needed Brushed Studs
Brushed metal has a more muted, industrial look compared to shiny chrome finishes. It pairs beautifully with full grain leather and gives off a more rugged or vintage vibe. The brushed buckle and loop on this belt looked perfect—but those shiny studs clashed with the overall aesthetic.
What You’ll Need
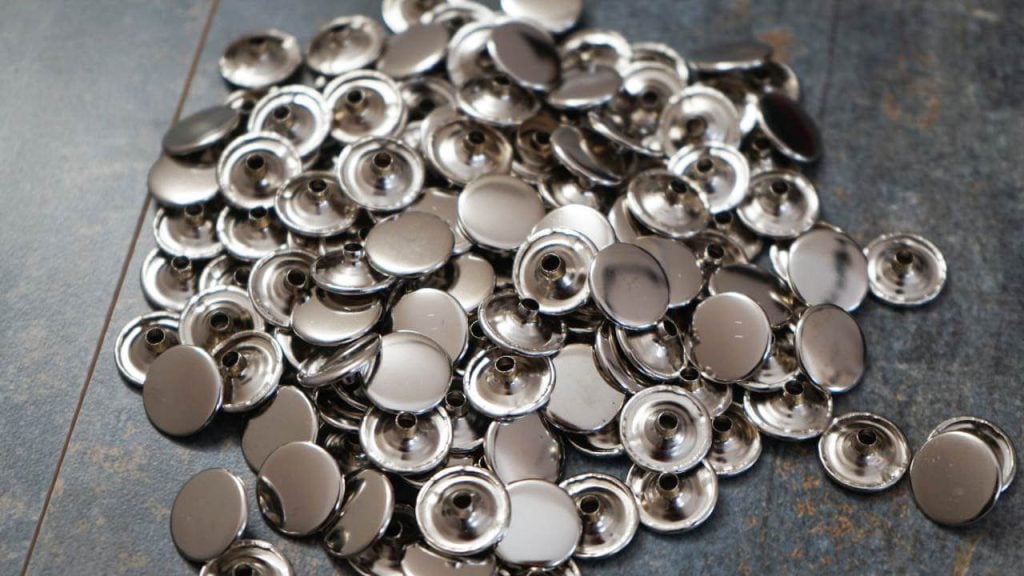
- Standard shiny dome rivets
- 220-grit sanding clutch (or sandpaper in a padded block form)
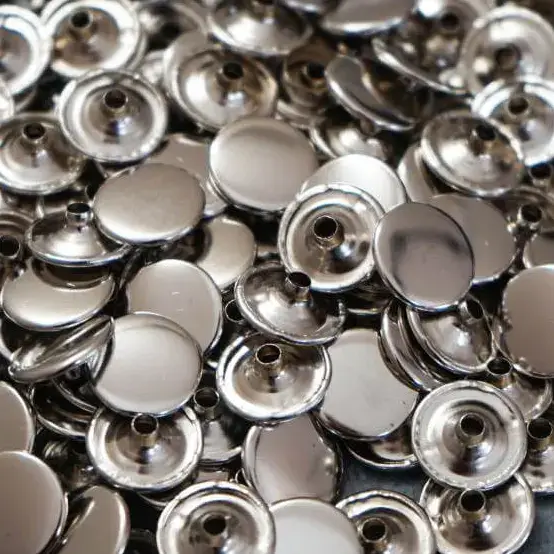
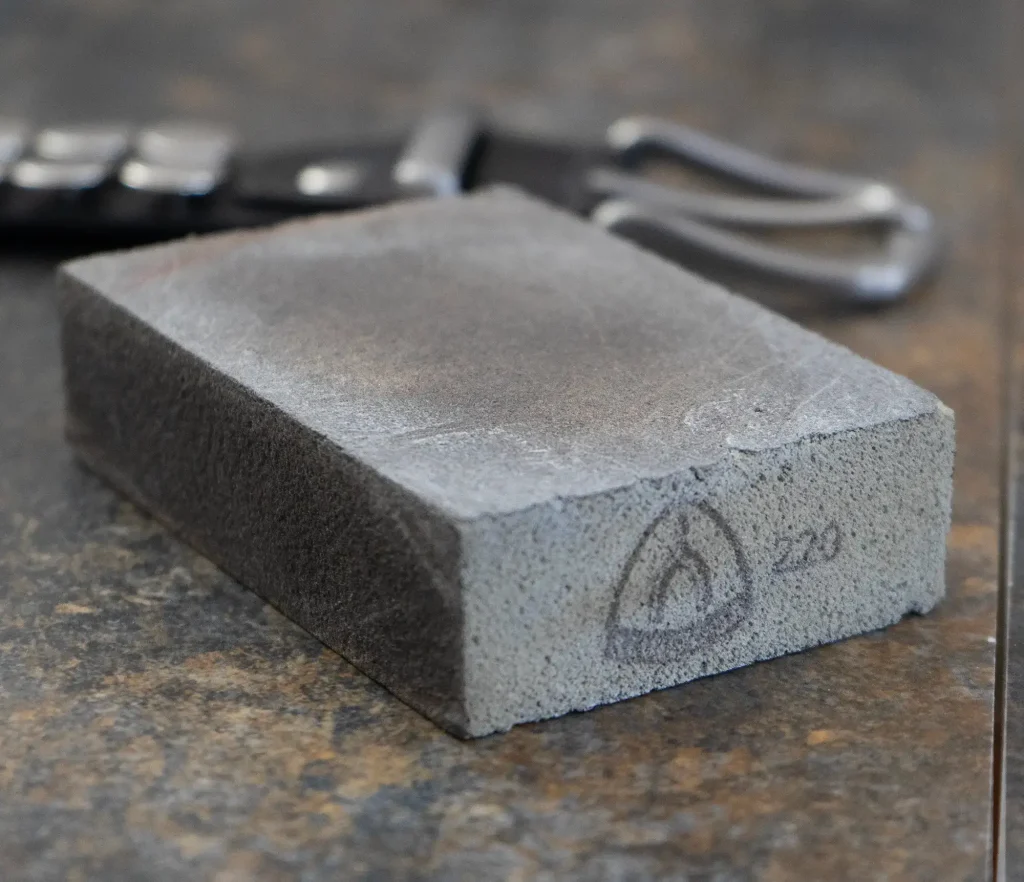
Why a Sanding Clutch Works Best
Unlike flat sandpaper, a sanding clutch has a slightly soft surface that gives when you press into it. This is key—it allows the rounded edges of the rivet dome to contact the abrasive surface too, not just the top. That way, the entire dome gets a brushed finish, not just the face. The result is more consistent and professional-looking.

Fast DIY Brushed Finish: Step-by-Step
- Set up your sanding clutch on a work surface.
Make sure it’s stable and grit-side up. - Hold the rivet securely.
I held the stud with fingers and gently pressed the dome into the sanding clutch. - Make about 5 small circular motions.
Move the rivet in light circles, letting the abrasive surface remove the polish evenly. No need to push hard—just enough to slightly press into the clutch surface. - Inspect the finish.
The shine fades fast, leaving a clean, radial brushed texture across the top and edges of the dome. - Repeat the process.
Each stud took only a few seconds to complete, and the look was consistent across the whole batch.
Tips for Best Results
- Use 220 grit for a soft-brushed look; for a coarser texture, go with 180 grit.
- Keep pressure even and motion light to avoid scratching.
- Clean any sanding dust from the rivets before setting them into leather.
- Test on one or two rivets first to get your technique dialed in.
Final Look: Perfectly Matched Hardware
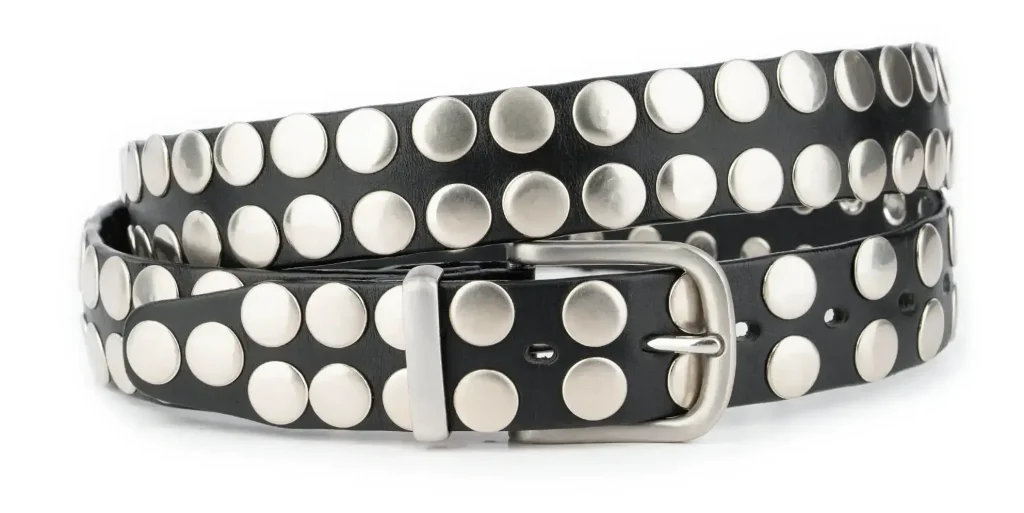
Once all the studs were brushed, I added them to the leather belt alongside the brushed buckle and metal loop. The difference was night and day—the hardware now looked like it came as a matching set. The project turned out great, and the client loved the cohesive, rugged design.
Conclusion
If your leatherwork calls for brushed metal accents but all you can find are shiny studs, don’t worry. A sanding clutch and a few minutes of work is all you need to turn stock hardware into custom-finished components. It’s a simple, satisfying DIY that makes your final product look far more intentional and high-end.
Got your own finishing tricks or questions? Drop them in the comments!
Shop Now
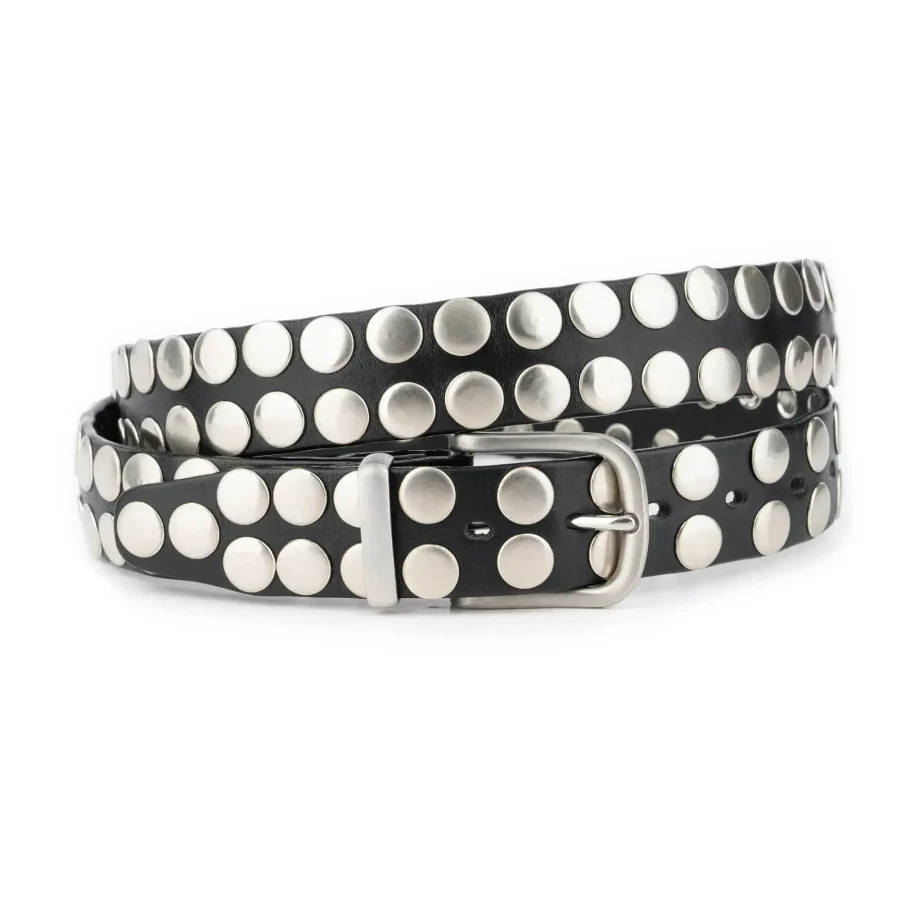
Mens Black Studded Belt Handmade – Stainless Steel Buckle
-
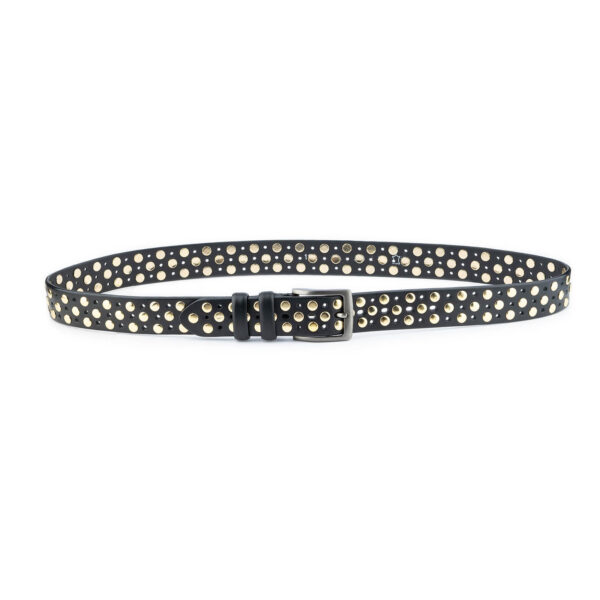
Gold Studded Belt Black Genuine Leather 3 Row 4.0 Cm
Original price was: $220.00.$176.00Current price is: $176.00. -
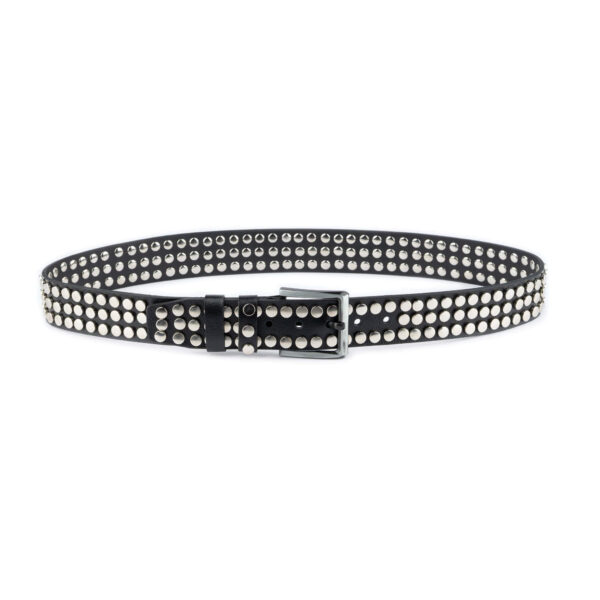
Studded Belt Black Real Leather High Thick Rivets
Original price was: $125.00.$100.00Current price is: $100.00. -
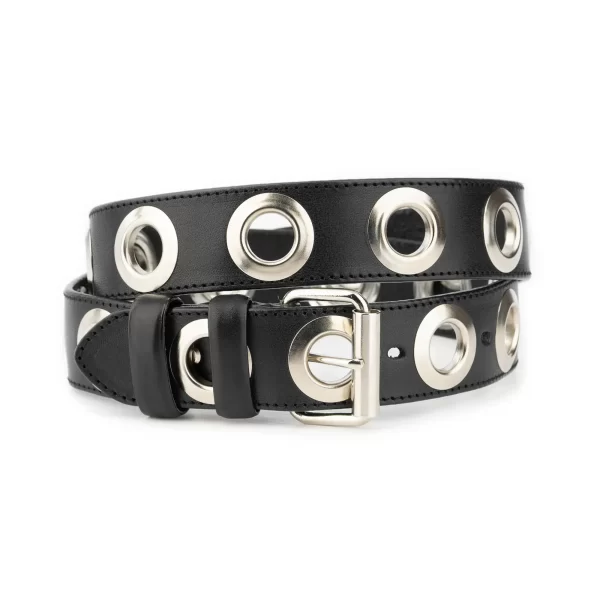
Black Full Grain Leather Grommet Belt – 1.5 Inch Thick with Oversized Hardware
Original price was: $155.00.$124.00Current price is: $124.00. -
Black Leather Grommet Belt With Gold Eyelets – Full Grain Leather
Original price was: $165.00.$132.00Current price is: $132.00.


